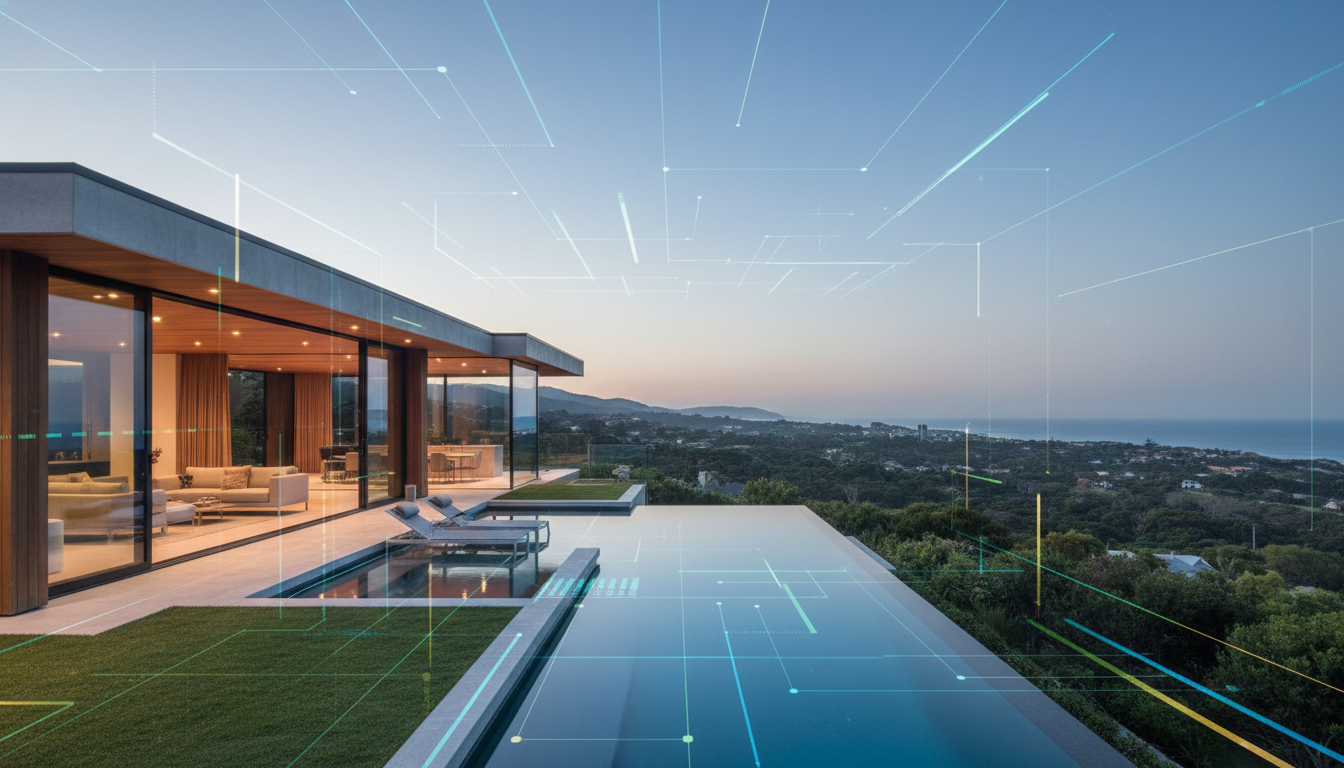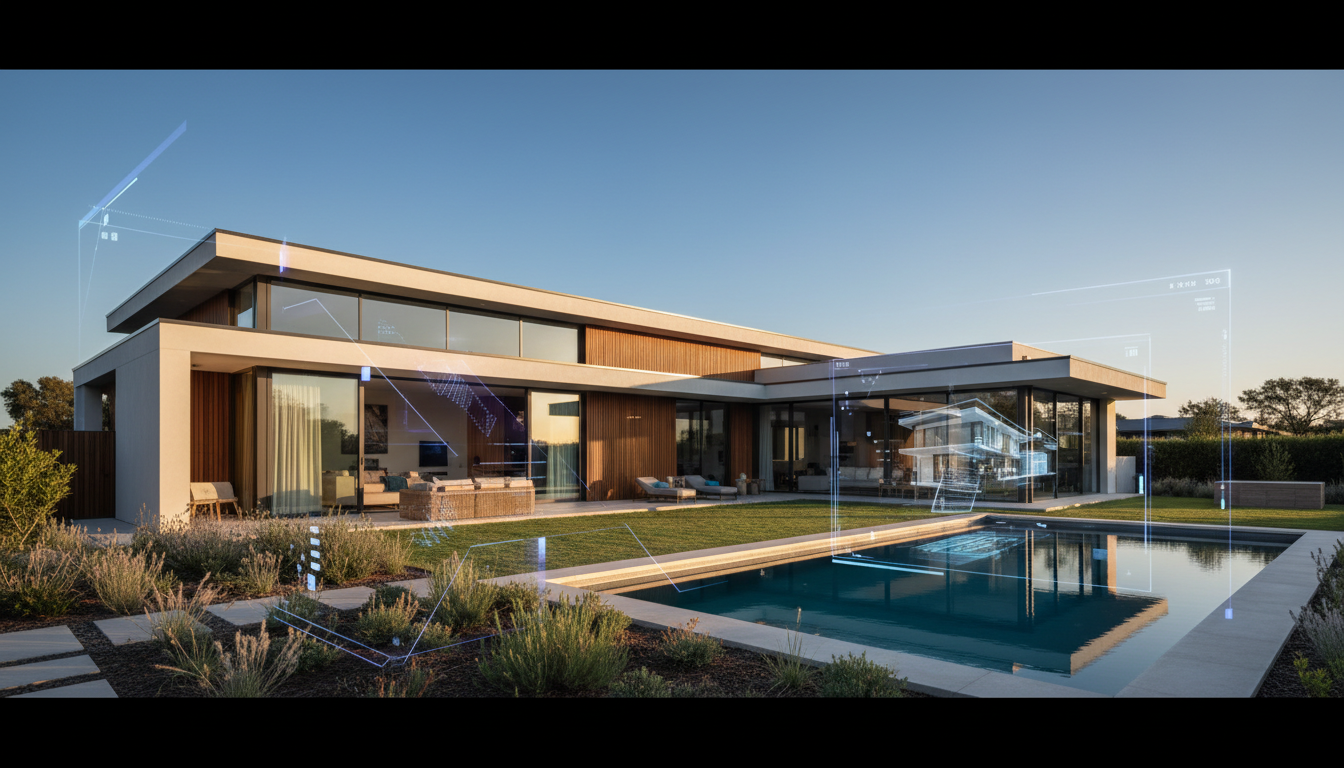
In today's fast-paced property market, video isn't just an advantage; it's an expectation. Potential buyers and guests want to experience a space before they even set foot in it. While traditional videography is costly and time-consuming, AI-powered video tours have emerged as a game-changer, allowing agents and hosts to create stunning walkthroughs from still photos. But to unlock the full potential of this technology, you need to start with the right ingredients. These are the essential property photography tips for video that will ensure your final AI-generated tour is nothing short of cinematic.
Why Your Photos are the Foundation of a Great AI Video Tour
There's a timeless principle in computing: "garbage in, garbage out." This holds true for artificial intelligence. Vinto's AI is sophisticated, designed to analyse your property photos and stitch them together into a fluid, engaging walkthrough. It intelligently creates motion, pans, and transitions that mimic a professional camera crew. However, the AI can only work with the visual information you provide. High-resolution, well-lit, and thoughtfully composed photos give our platform the raw material it needs to produce a polished, high-definition video that captivates viewers.
Conversely, low-quality images—blurry, dark, or poorly framed—will result in a subpar video. The AI might struggle to create smooth motion, leading to jerky transitions or a final product that looks pixelated and unprofessional. Think of your photos as the building blocks of your video. The stronger and more refined each block is, the more impressive the final structure will be. It's crucial to understand how Vinto’s AI technology works to appreciate why high-quality inputs are so vital for a premium output.
Essential Property Photography Tips for Video Transformation
To get that high-end, cinematic result from your Vinto tour, you need to think like a videographer even when you're taking still photos. By optimising your photography process, you're essentially directing your future AI video. Here are the most critical property photography tips for video to implement in your next shoot.
Master Your Lighting: Natural is Best
Lighting is arguably the most important element in photography. It sets the mood, defines the space, and ensures clarity. For property marketing, bright and airy is always the goal.
- Embrace Natural Light: Schedule your photoshoot for a time when the property receives the most natural light. A bright but slightly overcast day is often ideal, as it provides soft, even light without the harsh shadows of direct sun.
- Open Everything Up: Before you start shooting, open all blinds, curtains, and shutters to let in as much light as possible.
- Use Interior Lights Strategically: Turn on all the lights in the room, including lamps and overhead fixtures. This adds warmth and eliminates dark corners, creating a welcoming and lived-in feel.
- Avoid On-Camera Flash: A direct flash creates harsh reflections on surfaces like windows, mirrors, and benchtops. It also creates an unnatural, sterile look. Rely on ambient and natural light instead. Good lighting prevents the "digital noise" or graininess that can degrade video quality.
Composition and Angles for a Cinematic Feel
How you frame your shots directly influences the flow and feel of the final video. The goal is to create a sense of space and guide the viewer’s eye through the property logically.
- Always Shoot in Landscape: This is non-negotiable. Video is a horizontal medium (think TV screens and YouTube). Portrait (vertical) photos are impossible to use in a seamless walkthrough video and will be rejected or cropped, ruining the composition.
- Use a Wide-Angle Lens (Wisely): A lens between 16-24mm (on a full-frame camera) is perfect for capturing the scale of a room without distorting the perspective too much. Avoid an extreme "fisheye" effect, which can make a space feel warped.
- Shoot from Corners: Positioning yourself in the corner of a room allows you to capture more of the space in a single frame, making it feel larger and more open.
- Maintain a Consistent Height: Use a tripod and keep your camera at a consistent height—around 1.2 to 1.5 metres (chest or eye level)—for all shots. This consistency is one of the most important property photography tips for video, as it helps the AI create a smooth, level "walking" motion from one room to the next.
Declutter and Stage for Maximum Appeal
You're not just selling a building; you're selling a lifestyle. Staging helps potential buyers or guests envision themselves in the space. The camera magnifies clutter, so a tidy space is essential.
- Depersonalise the Space: Remove personal items like family photos, fridge magnets, bills, and toiletries. You want viewers to imagine their own life there, not yours.
- Clear All Surfaces: Kitchen benchtops, bathroom vanities, and coffee tables should be mostly clear. Leave only a few tasteful decorative items, like a vase of flowers, a bowl of fresh fruit, or a neatly stacked book.
- Add Aspirational Touches: Simple additions like plush cushions on the sofa, a folded throw blanket on the bed, or fresh, fluffy towels in the bathroom can elevate the entire look and feel of the property.
Proper staging doesn't just look better; it helps the AI better understand the layout and purpose of each room, contributing to a more logical and appealing video tour. For a deeper dive into how this all comes together, check out our complete guide to AI video tours.
Technical Specifications for Flawless AI Processing
Beyond the creative aspects, a few technical details will ensure your photos are perfectly optimised for Vinto's AI engine.
- Resolution is Key: High-resolution photos are critical. More pixels give our AI more data to work with, allowing for smooth digital pans and zooms without losing quality. Use a DSLR, mirrorless camera, or even a high-end modern smartphone, and always shoot at the highest possible resolution.
- Use a Tripod for Sharpness: Even the slightest camera shake can result in a soft or blurry image. A sturdy tripod guarantees every shot is perfectly sharp, which is essential for crisp, clear video.
- Check Your Focus: Double-check that your main subject is in sharp focus. An out-of-focus photo is unusable and will create a jarring, unprofessional moment in your video.
- Consistent White Balance: Inconsistent colour temperatures from one photo to the next (e.g., one photo looking "warm" and yellow, the next looking "cool" and blue) will look strange when transitioned in a video. Set a custom white balance or use your camera's "Auto White Balance" in consistent lighting conditions.
Planning Your Photoshoot for a Cohesive Video Narrative
Finally, to create a video that feels like a true walkthrough, you need to capture your photos in a way that tells a story. This is where you transition from photographer to director.
Think in sequence. Start at the front door and move through the property logically, just as a person would on a viewing. For example: Entryway -> Living Room -> Dining Room -> Kitchen -> Hallway -> Bedrooms -> Bathrooms -> Backyard. This sequential approach is vital for Vinto's AI to build a tour that makes spatial sense. Taking photos in a random order will result in a confusing and disjointed video.
Capture multiple, overlapping shots. In each key area, take several photos from different vantage points. For instance, in a living room, you might take one shot from the doorway, one from the corner near the window, and another looking back towards the entrance. This variety gives the AI more options for creating dynamic movement and seamless transitions. Following these property photography tips for video is the secret to creating cinematic property videos without a camera crew, saving you thousands in production costs.
By investing a little extra time and thought into your still photography, you provide the perfect foundation for a stunning AI video